2D Rendering - 10 - Sprite Textures
 Download the source code for this post
Over the past couple of weeks I’ve been having a play with libGDX Sprites, to see how they compare to XNA’s, where my main aim was to see the easiest way to make them behave in the same way that people coming from a XNA background would expect.
There are certainly some differences there, which I can see scaring people off form using libGDX as an XNA replacement. After reading my upcoming Sprite tutorials, I hope to demonstrate that a few small tweaks can hide these differences and also show that libGDX offers some interesting support classes, which make working with sprites a breeze.
We’ll start off real simple.
Modifying the default project
If you use the supplied libGDX project tool to create a project (which you should) it generates a small application which opens a window and displays the BadLogic logo (a texture) in the bottom left of the screen. As seen below.
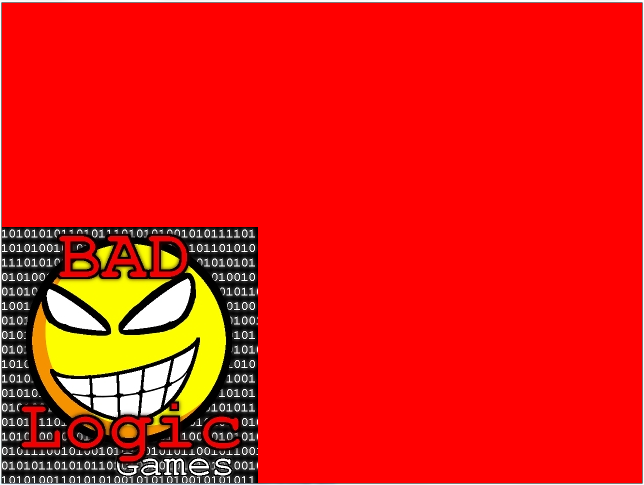
The core code for this is as follows:
public class Sprite1 extends ApplicationAdapter {
	SpriteBatch batch;
	Texture img;

	@Override
	public void create () {
		batch = new SpriteBatch();
		img = new Texture("badlogic.jpg");
	}

	@Override
	public void render () {
		Gdx.gl.glClearColor(1, 0, 0, 1);
		Gdx.gl.glClear(GL20.GL_COLOR_BUFFER_BIT);
		batch.begin();
		batch.draw(img, 0, 0);
		batch.end();
	}
}
So, we have a SpriteBatch and a Texture, which all looks very similar to XNA. The reason that the texture is shown in the bottom left corner, is due to the default origin (0,0) of SpriteBatch being located at the bottom left of the Viewport.
This is something that definitely throws a lot of people out. XNA users (and others) will be used to the origin being located at the top-left of the Viewport. Understanding how to change that, and what else needs to change, can be far from obvious to a novice.
Changing SpriteBatch’s Origin
If you’ve read my previous posts, then you may remember me banging on about cameras. Now, this is the sort of stuff you need to know to make sense of how the SpriteBatch’s origin can be changed (see, there is method to my madness). So, if you didn’t read them, I highly recommend that you do. Alternatively, you can just copy me Pretty Polly fashion and not have the foggiest idea on what is going on under the hood.
Now, SpriteBatch has its own camera, but it isn’t set up in the way that we want. So, we somehow need to use our own camera. We can’t actually replace SpriteBatch’s camera (a crying shame), but we can change SpriteBatch’s projection matrix.
Camera to the rescue
So, let’s create our own camera, which will allow us to flip the y axis and have the origin at the top-left of the Viewport.
public class Sprite1 extends ApplicationAdapter {
	SpriteBatch batch;
	Texture img;
	private OrthographicCamera camera;

	@Override
	public void create () {
		batch = new SpriteBatch();
		img = new Texture("badlogic.jpg");
	}

	@Override
	public void render () {
		Gdx.gl.glClearColor(1, 0, 0, 1);
		Gdx.gl.glClear(GL20.GL_COLOR_BUFFER_BIT);
		camera.update();
		batch.setProjectionMatrix(camera.projection);	// 1.
    		batch.begin();
		batch.draw(img, 0, 0);
		batch.end();
	}

	@Override
	public void resize(int width, int height) {
		super.resize(width, height);
		camera = new OrthographicCamera(width, height);
		camera.setToOrtho(true, width, height);		// 2.
  	}
}
Note that we create our camera using the width and height of the default Viewport (i.e the full screen/window), so our Aspect ratio is correct, and, as an added bonus, we can work in pixel coordinates.
1.is where we tell SpriteBatch to use our Projection Matrix.2.is where we flip the y axis.
When we re-run the program, we see the following:
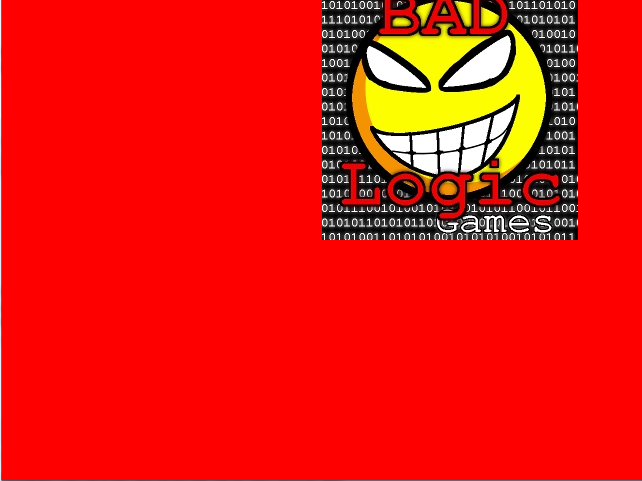
Well, that didn’t go as planned! What happened there then guvnor? We expected the sprite to appear at the top left-hand side of the Viewport. Well, annoyingly, when we use SpriteBatch.setProjectionMatrix(), despite its name, we actually have to set it to our camera’s combined projection and transformation matrix. There’s a good reason for this, but it’s certainly a little trap for new players.
So, our rendering code changes to:
public void render () {
	Gdx.gl.glClearColor(1, 0, 0, 1);
	Gdx.gl.glClear(GL20.GL_COLOR_BUFFER_BIT);
	camera.update();
	batch.setProjectionMatrix(camera.combined);	// <-- It be magic, it be
  batch.begin();
	batch.draw(img, 0, 0);
	batch.end();
}
Let’s run it again…
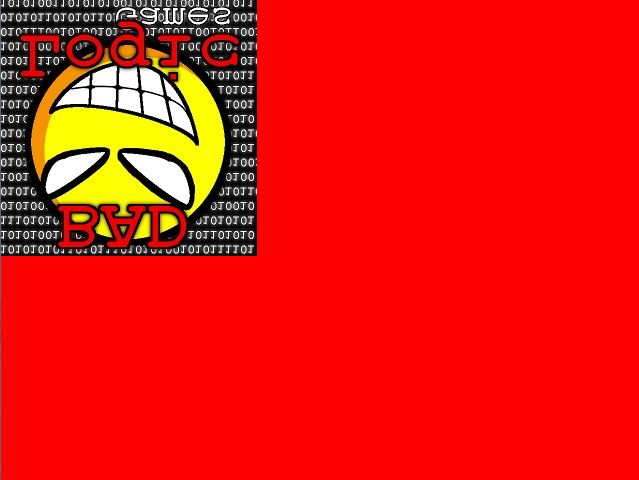
Erm, well, we failed again… Pick yerselves up, we’ve got this!
Topsy Turvy
Well, we fixed one problem, but created another. Why is our texture upside down? Well, again, if you read my previous tutorial about overlaying textures onto vertices, then you can probably work it out. When rectangular textures are applied to vertices, each corner of a texture is mapped to a vertex. We’ve just flipped the y positions of our vertices, so we need to do the same for our textures.
How do we do that? Well, there’s more than one way to skin this cat. The first way is to use a different draw() method, which takes umpteen parameters. Sounds too much like hard work to me, so instead, we’ll wrap our texture in a TextureRegion, as this class provides a nice flip(x,y) method.
public class Tutorial9 extends ApplicationAdapter {
	SpriteBatch batch;
	Texture img;
	private TextureRegion region;
	private OrthographicCamera camera;

	@Override
	public void create () {
		batch = new SpriteBatch();
		img = new Texture("badlogic.jpg");
		region = new TextureRegion(img);
		region.flip(false, true);		// <-- Magic
	}

	@Override
	public void render () {
		Gdx.gl.glClearColor(1, 0, 0, 1);
		Gdx.gl.glClear(GL20.GL_COLOR_BUFFER_BIT);
		camera.update();
		batch.setProjectionMatrix(camera.combined);
		batch.begin();
		batch.draw(region, 0, 0);
		batch.end();
	}

	@Override
	public void resize(int width, int height) {
		super.resize(width, height);
		camera = new OrthographicCamera(width, height);
		camera.setToOrtho(true, width, height);
	}

	@Override
	public void dispose() {
		super.dispose();
		batch.dispose();
		img.dispose();
	}
}
Let’s run the blighter again…

And reeeeelax… We did it!
Summary
In the end, the changes required are minimal, but knowing what to change and why we need to make those changes is where the confusion creeps in. The information is out there in dribs and drabs, but I couldn’t find an example like what I have just provided. Hopefully, this fills the gap!
Coming up Next…
You lucky lot. Next, we’ll look at a strategy we can use to avoid having to remember the changes that we just made above. Then we’ll make that sucker bounce around the screen.
JK