2D Rendering - 2 - Triangles Galore
 Download the source code for this post
Triangles Galore
Yup, I said that I would bang on about triangles for a bit, but don’t be dismayed. In this installment, you will gain much knowledge on what is known as the programmable graphics pipeline of OpenGL. Writing a small program to draw a triangle goes a long way towards introducing you to shaders. So, let’s get started…
In the previous installment we plotted out a triangle using Normalised Device Coordinates (NDC). Our simple little program will take the same co-ordinates and plot them to an actual screen.
One note before we get into the code. I’ll start using the correct names for what I have called points or coordinates in previous articles. The correct name is vertex for a single point and vertices for a collection of points. Now we’ve cleared that up, let’s get down to business.
Creating data to send to OpenGL
Under the hood, OpenGL likes working with arrays of data, known as vertex data. We can encode all kinds of fancy vertex data in these arrays, so we need a way to tell OpenGL what kind of data to expect. libGDX very kindly hides some of these details from us by providing classes to structure our data. For this simple program, the only kind of data that we are adding to the arrays is coordinate data (NDC). i.e. the vertices which make up our triangle.
The first thing we need to do is allocate a data structure which can hold our vertex data. LibGDX provides a handy Mesh class to help us with this.
The following piece of code deals with creating our vertex data and describing the format of the data that we are sending to OpenGL.
private Mesh triangleMesh;

private void createTriangleMesh() {
	triangleMesh = new Mesh(true, 3, 0, new VertexAttribute(Usage.Position, 2,
			"a_position"));
}
So, in the above code the Mesh constructor takes the following arguments:
true- indicates that the vertices we are passing are static - ignore for now3- maximum number of vertices for our mesh. We just need 3 for our triangle.0- maximum number of indices for our mesh - ignore for now- VertexAttribute - This allows us to state the type of data that we want to pass to OpenGL. The parameters we pass are:
Usage.Position- Our array consists only of positional information.2- We are passing two components (x,y) for each position.a_position- The name of our attribute variable in our vertex shader, which should receive these attributes. More on this in a bit…
Once we have created the Mesh, we pass it an array of vertices, as shown in the code snippet below. These are the NDC which represent the position of our extremely exciting triangle on the screen.
triangleMesh.setVertices(new float[] {
  0f, 0.5f,	// top vertex
  0.5f, -0.5f,  // bottom right vertex
  -0.5f, -0.5f 	// bottom left vertex
});
Vertex Shader
Now that we have defined our triangle, we need to create a couple of simple shader programs, which incidentally run on the graphics hardware, to help us render the damn thing. Our first shader is a vertex shader. This type of shader is called for every vertex that is involved in drawing our triangle. In our case, that is three times - aka thrice. Lets take a look at the code:
attribute vec4 a_position;
void main() {
	gl_Position = a_position;
}
The language used to write these nifty little programs is a C-like language called OpenGL Shader Language, which is abbreviated to glsl. In our vertex shader, the first thing we do is define an attribute. The more astute of you will have noticed that it is named the same as the VertexAttribute that we created earlier in our Java code: a_position.
Attributes are used to pass data from our Java code to the shader program. Each time our vertex shader is called, a_position will hold one of the vertices that makes up our triangle. Each time, a_position will hold one of the three vertices that we defined.
Finally, in our main() function, each position is assigned to a special OpenGL variable - gl_Position - which tells OpenGL the position of the current vertex.
Fragment Shader
The fragment shader is called once per pixel and deals with colouring in the pixels within the triangle that we are rendering. Let’s take a peek at the code:
uniform vec4 u_color;
 void main() {
	 gl_FragColor = u_color;
 }
This time, we have defined a uniform variable, called u_color. Using uniform basically means that we want to set a variable from our Java code, and, once it is set, it won’t change. This is analogous to a final variable in Java. We will be setting it from our Java code to the color white (even though white isn’t a colour). You will see this further down in this post.
Compiling the shader programs
Before we can make use of our shaders, we need to compile them and check that there are no errors. The following code does just that:
private ShaderProgram shader; // Encapsulates our shaders

protected void createMeshShader() {
	ShaderProgram.pedantic = false;
	shader = new ShaderProgram(VERTEX_SHADER, FRAGMENT_SHADER);
	String log = shader.getLog();
	if (!shader.isCompiled()){
		throw new GdxRuntimeException(log);
	}
	if (log!=null && log.length()!=0){
		Gdx.app.log("shader log", log);
	}
}
Note that VERTEX_SHADER and FRAGMENT_SHADER are Strings which hold the shaders that I described earlier. See the linked source code for full details.
Hooking it all together
So, we have defined our triangle and written some basic shaders to render it. Now we just need to bring it all together. The first thing we do is call our methods to create the triangle data and the shaders from our the libGdx create() method. This method is called by the framework when our application first starts.
@Override
public void create() {
	createTriangleMesh();
	createMeshShader();
}
Finally we trigger the rendering by overriding the render() method and adding the following code:
@Override
public void render() {
	Gdx.gl.glClearColor(0, 0, 0, 1);                      // 1.
	Gdx.gl.glClear(GL20.GL_COLOR_BUFFER_BIT);             // 2.

	shader.begin();                                       // 3.
	shader.setUniformf("u_color", 1, 1, 1, 1);            // 4.
	triangleMesh.render(shader, GL20.GL_TRIANGLES, 0, 3); // 5.
	shader.end();                                         // 6.
}
- sets the clear screen colour to black.
- clears the screen, using that colour.
- instructs OpenGL to use our shaders.
- is where we communicate to our fragment shader that we want it to colour the triangle white.
- instructs OpenGL to start rendering our triangle data, using our shaders.
- disables our shaders.
And there we have it. When you run the program, you will see the following screen.
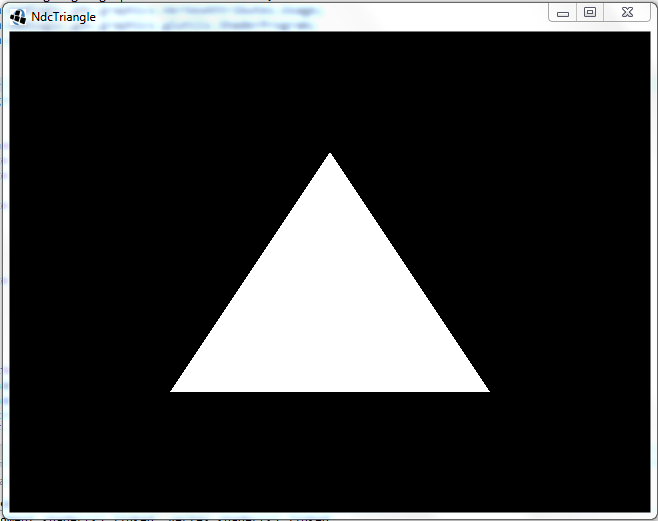 .
.
Be sure to let all around you witness this glorious sight!
Show/Hide juicy details
You may be used to creating colours by using values between 0 and 255 (so 80’s) to represent Red, Green, Blue and Alpha respectively. Like so:
Color c = new Color(255,255,255,255);
0…1. To normalise any value between 0..1 is very easy, as long as you know the maximum range of the number. In our case, the maximum range is 255. We simply divide the Integer value, by 255 to get a normalised value.
For example, say we want to set the red component to 128. We can normalise it as follows:
red = 128/55; // = 0.5
Coming up next…
I think we will look a bit more that the different types of vertex data that we can pass to OpenGL. I know! Exciting isn’t it!?
JK